Step 1 — Visit the Official NordVPN Website
Click the link below to go to the official NordVPN website.
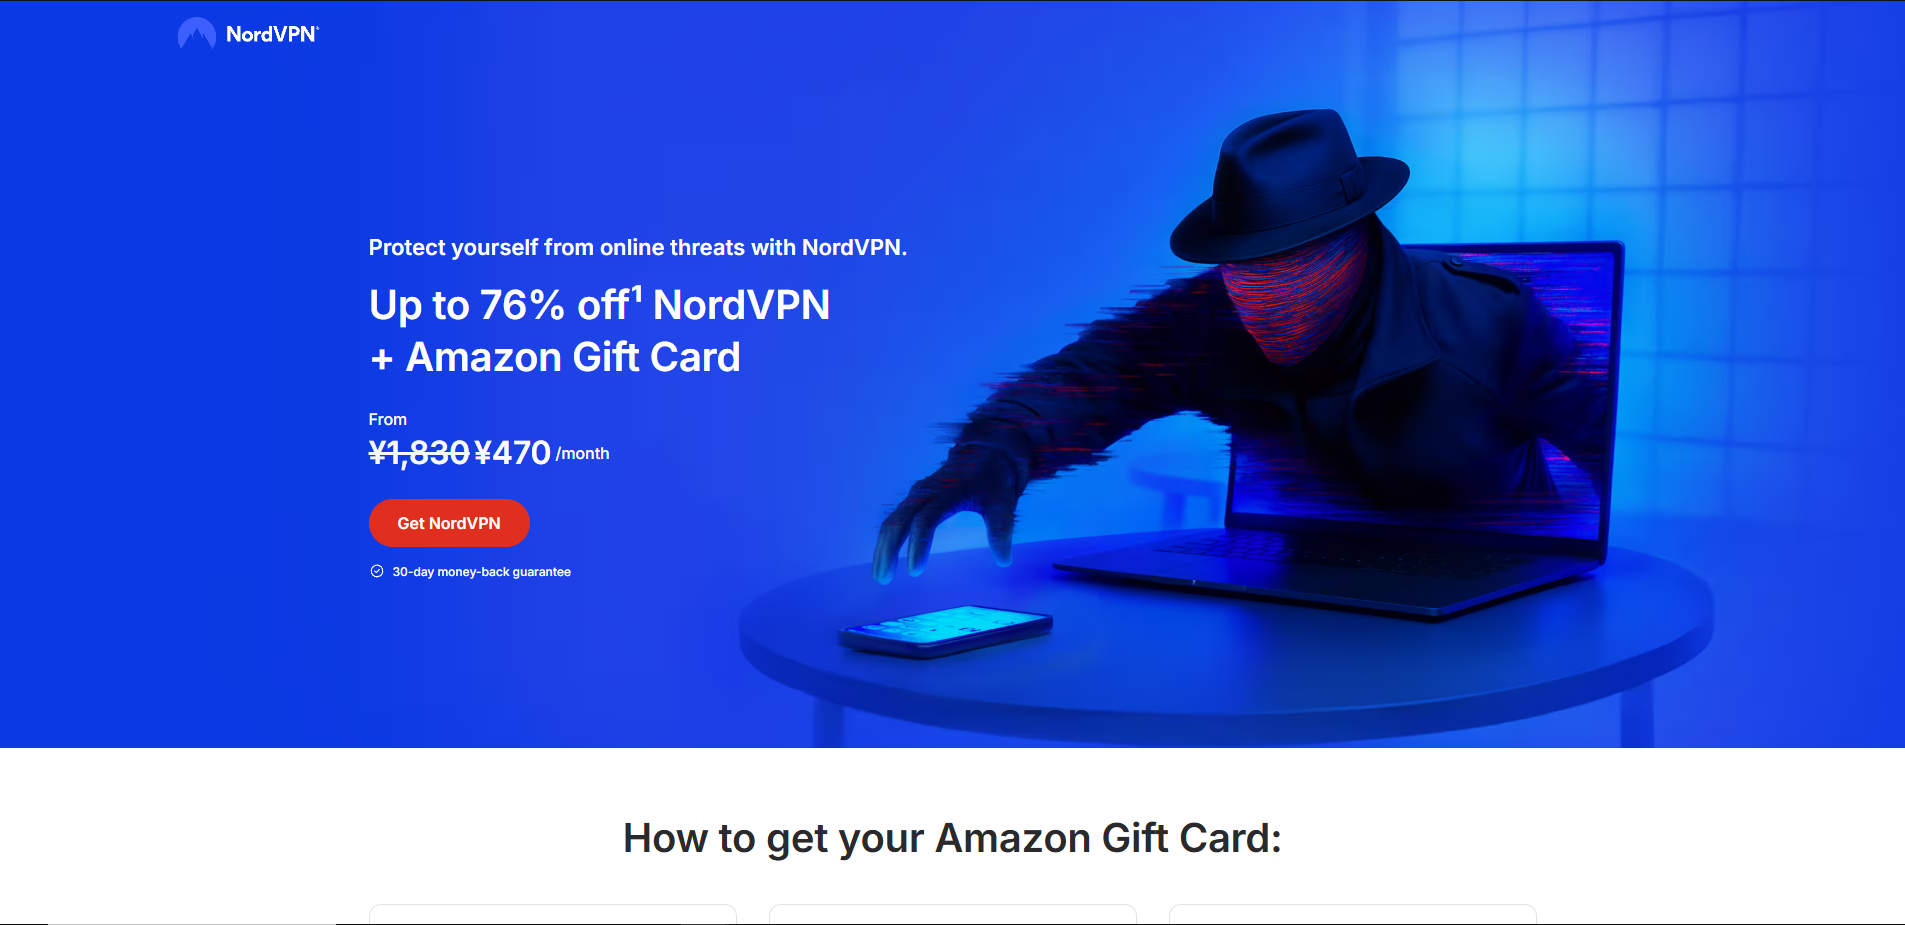
Go to NordVPN Official SiteOnce you arrive, you should see a screen like this. Click the red Get NordVPN button.
Step 2 — Choose Your Plan
You'll be taken to the plan selection screen. Choose whichever plan suits you best.
- 1-year or 2-year plans offer a much lower monthly rate — great for long-term use.
- 1-month plan is recommended if you just want to try it out first.
- For most users, the Basic plan is more than enough.
Check the NordVPN Review for a full plan comparison.
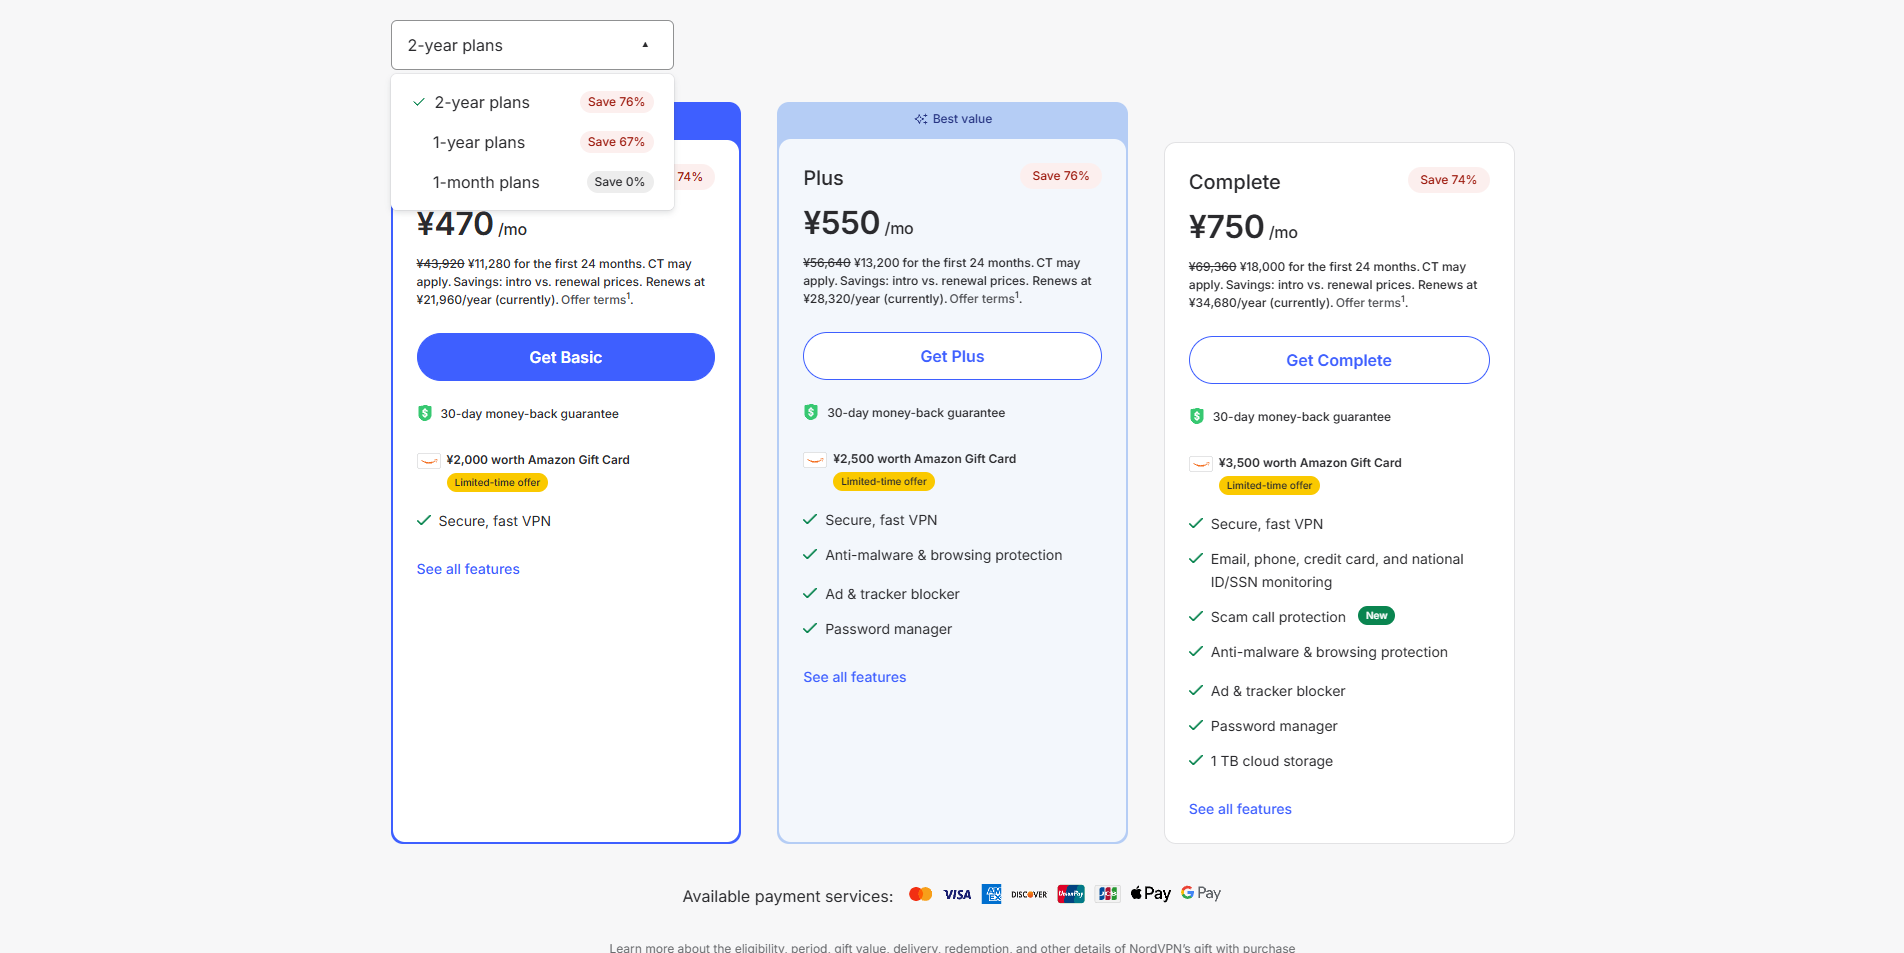
Once you've decided, click Get Basic, Get Plus, or Get Complete depending on your chosen plan.
Step 3 — Create Your Account & Pay
After selecting your plan, you'll see the following screen.
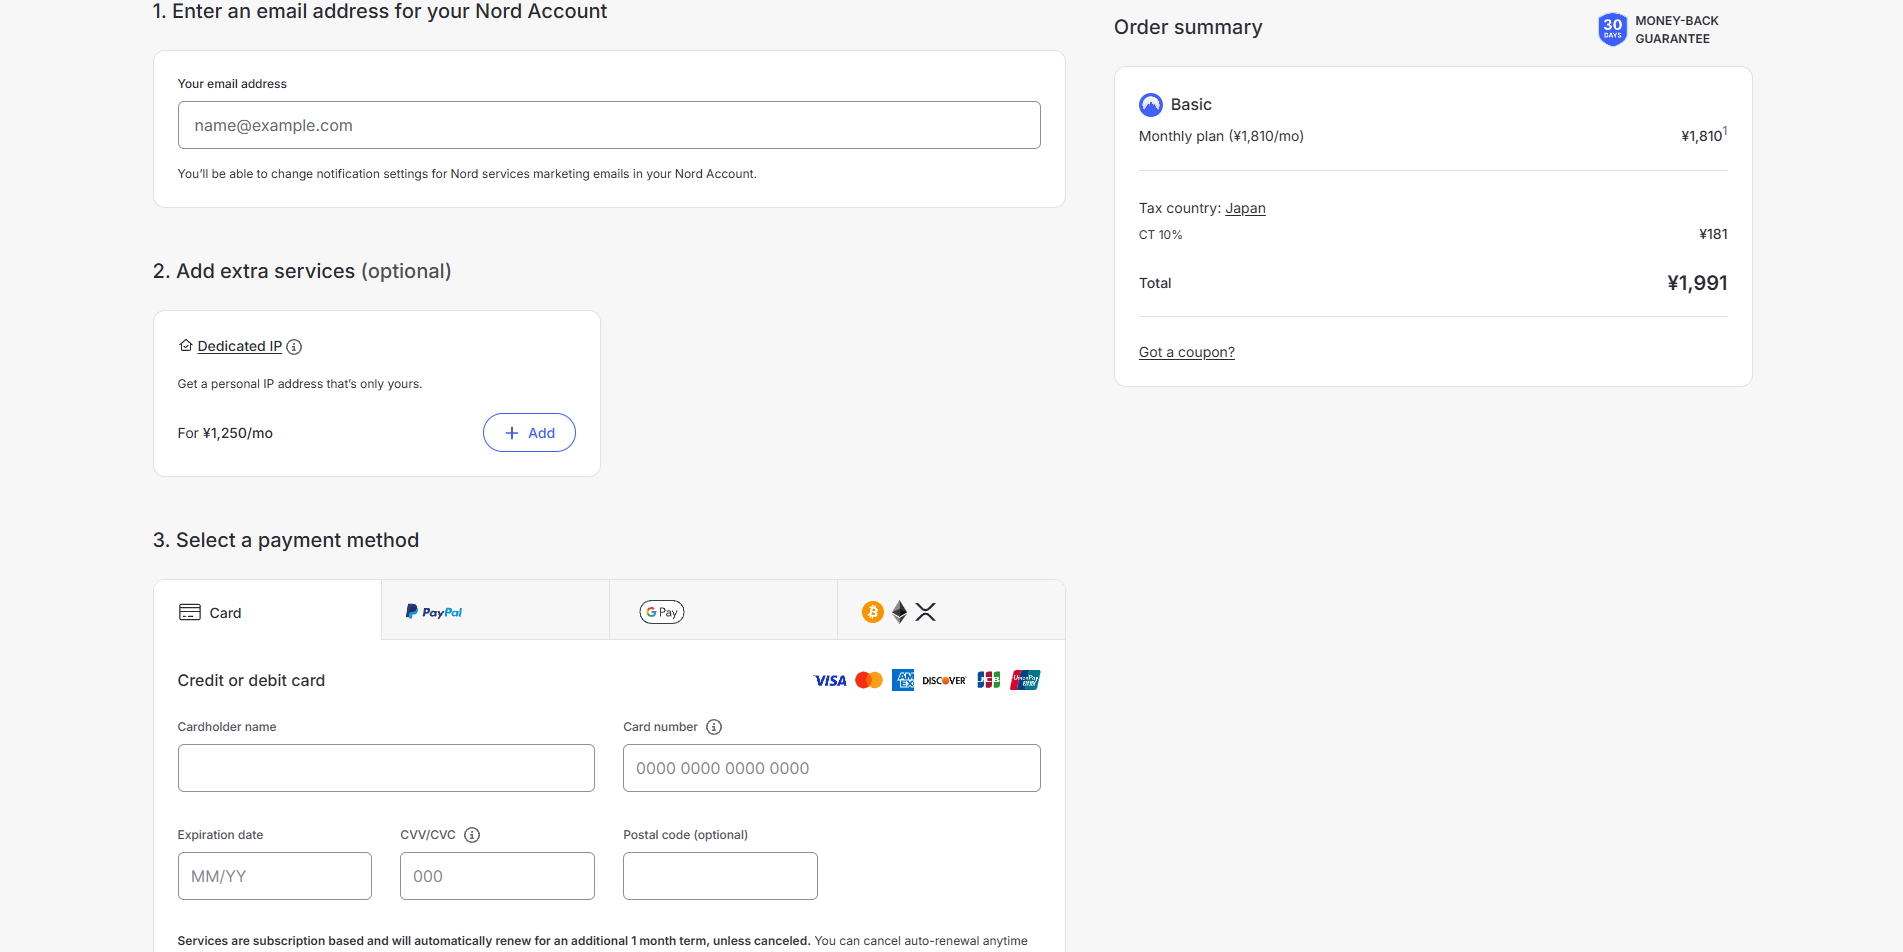
- Enter the email address you want to use for your NordVPN account.
- Under Add extra services, you'll see Dedicated IP — this is optional and not necessary for most users.
- Select your preferred payment method and complete the payment. Any payment method is fine.
Step 4 — Download & Run the Installer
After payment, you'll be able to download NordInstaller.exe. Once downloaded, double-click it to open.
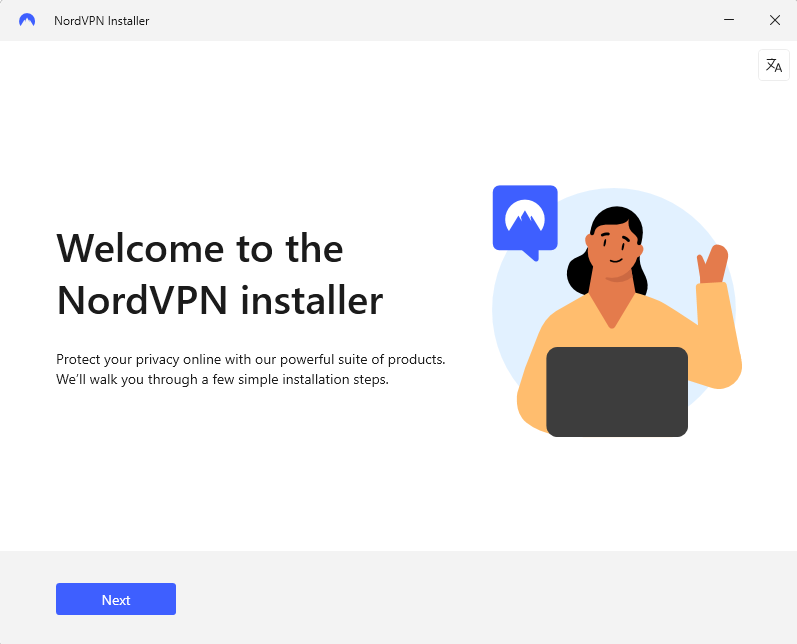
Click Next, then click Accept on the next screen.
Step 5 — Select What to Install
You'll see a screen to choose which products to install.
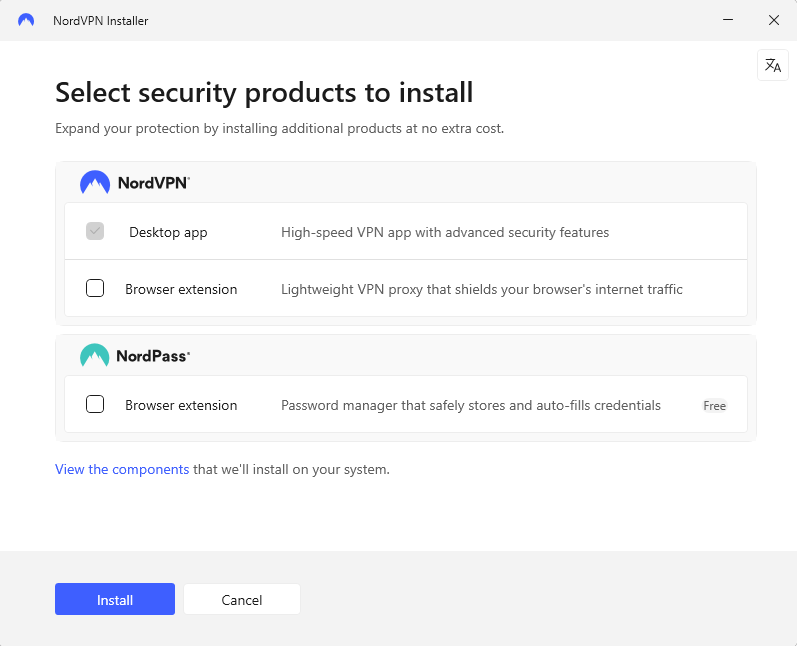
- NordVPN Desktop app — keep this checked. This is the main app.
- NordVPN Browser extension — uncheck this if you don't need it.
- NordPass Browser extension — uncheck this if you don't need it.
Once you've made your selections, click Install. The installation will begin automatically.
Step 6 — Installation Complete
When you see the screen below, the installation is complete!
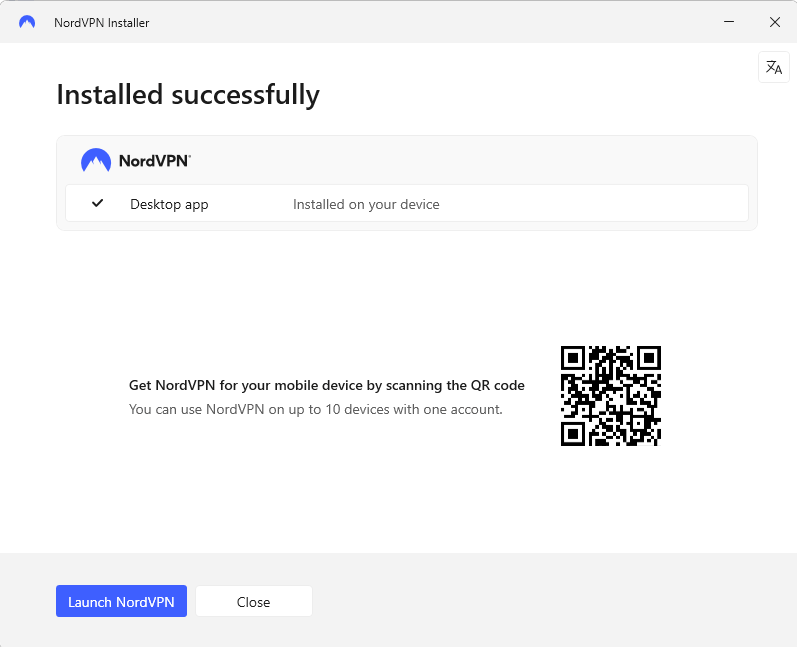
Click Launch NordVPN in the bottom left. If you also want to install NordVPN on your smartphone, scan the QR code on this screen.
Step 7 — Log In to NordVPN
NordVPN will open and show the following screen. Log in with the account you just created.
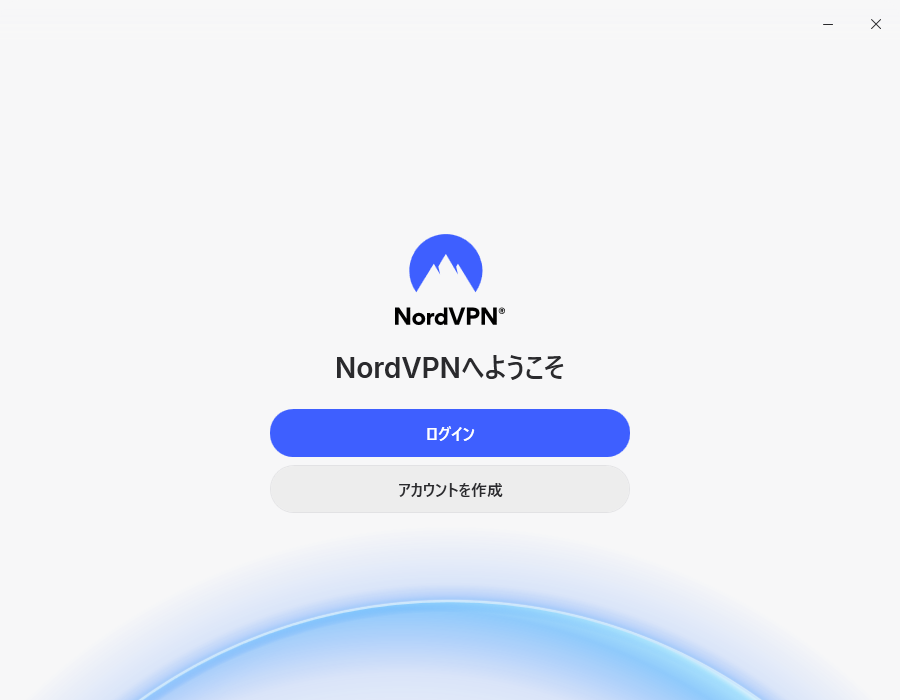
Depending on your environment, clicking Login may log you in automatically via your browser.
Step 8 — NordVPN Main Screen
After logging in, you'll go through a few setup screens asking about your intended use. Select whatever fits your needs. You can skip the Threat Protection setup and proceed. For the server selection, the fastest server at the top is fine for now.
Once you reach the main screen below, setup is complete!
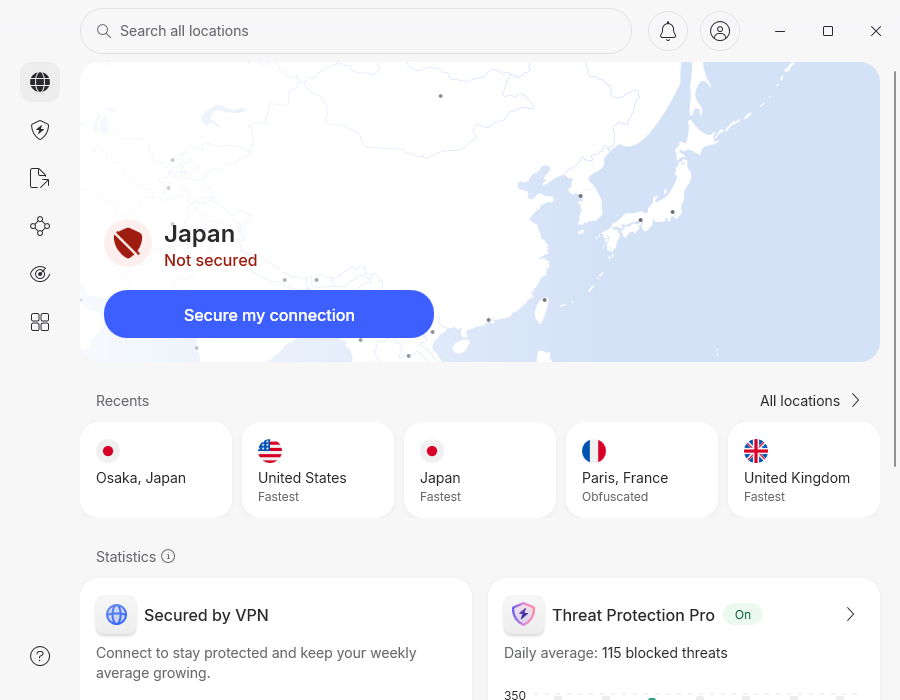
Step 9 — Connect to a Japanese Server
Click Search all locations at the top, then find Japan in the list. You can choose either Tokyo or Osaka — both work great.

Click on your chosen location to connect.
Step 10 — Connection Complete!
Once connected, you'll see the screen below showing Osaka, Japan — Secured (or Tokyo depending on your choice).

To verify your connection, visit NordVPN's official IP checker and confirm that your location shows Japan, Osaka Prefecture, Osaka.
That's it — you're all set! Go explore Japanese content! 🎉